Chrooting is always a great option when you want to roll out a service that will be accessed by a lot of users, even more so if it’s on the internet. On OpenSSH’s sftp server, chrooting is a couple of lines of setup away. You can add ACL on top of that to get more granular and complex access rules
First, the folders or directories. All directories that will be chrooted must belong to root. This is why most of the time, we need to create new directory structure for the chrooted accounts. For the purpose of this post, I’ll be making these:
surfer@claw:~$ sudo mkdir /files
surfer@claw:~$ sudo mkdir /files/surveyor
surfer@claw:~$ sudo mkdir /files/surveyor/user01
surfer@claw:~$ sudo mkdir /files/surveyor/user01/incoming
surfer@claw:~$ sudo mkdir /files/surveyor/user02
surfer@claw:~$ sudo mkdir /files/surveyor/user02/incoming
And assign them to root
surfer@claw:~$ sudo chown -R root.root /files/
Next, the users. It is important that we make sure that the sftp users can only access the server via sftp, and they should have no access to any kind of shell:
surfer@claw:~$ sudo useradd -d /files/surveyor/user01 -s /sbin/nologin user01
surfer@claw:~$ sudo useradd -d /files/surveyor/user01 -s /sbin/nologin user02
surfer@claw:~$ sudo useradd -d /files/surveyor/ -s /sbin/nologin traffic01
surfer@claw:~$ sudo useradd -d /files/surveyor/ -s /sbin/nologin traffic02
surfer@claw:~$ sudo groupadd surveyor
surfer@claw:~$ sudo groupadd traffic
surfer@claw:~$ sudo gpasswd -a user01 surveyor
surfer@claw:~$ sudo gpasswd -a user01 surveyor
surfer@claw:~$ sudo gpasswd -a traffic01 traffic
surfer@claw:~$ sudo gpasswd -a traffic02 traffic
surfer@claw:~$ sudo chown -R user01.user01 /files/surveyor/user01/incoming
surfer@claw:~$ sudo chmod -R 700 /files/surveyor/user01/incoming
surfer@claw:~$ sudo chown -R user02.user02 /files/surveyor/user02/incoming
surfer@claw:~$ sudo chmod -R 700 /files/surveyor/user01/incoming
Notice that user traffic01 and traffic02 have different kind of home directory setup and belong to a different compared the first two users. That is because I have a slightly different plan for these guys. The user traffic01 and traffic02 are to be able to access all data inside user01 and user02’s incoming folder respectively.
Aside from that, all three directed to /sbin/nologin for shell access. I also assign ownership of “incoming” folder to their corresponding accounts
On to the sftp server. Open /etc/ssh/sshd_config and find and comment out the line below:
Subsystem sftp /usr/lib/openssh/sftp-server
..so it should look like this
#Subsystem sftp /usr/lib/openssh/sftp-server
and add a new line:
Subsystem sftp internal-sftp
To setup the chroot jail, drop these couple of lines into /etc/ssh/sshd_config:
Match Group surveyor
        ChrootDirectory %h
        ForceCommand internal-sftp

Match Group traffic
        ChrootDirectory /files/surveyor
        ForceCommand internal-sftp
The first group of lines establishes that all users that belong to the group surveyor are chrooted to each of their home directory. The second group of lines confines any members of the group traffic to directory /files/surveyor, in this case “traffic01” and “traffic02”. Restart the ssh server for the changes to take effect.
Save, and restart ssh service
sudo systemctl restart ssh
Now, logging in to a shell with these accounts should give you this
surfer@talon:~$ ssh traffic01@claw.cloudapp.net
traffic01@claw.cloudapp.net's password:
This service allows sftp connections only.
Connection to claw.cloudapp.net closed.
surfer@talon:~$
if you log in as user01 or user02 using sftp client
Connected to claw.cloudapp.net.
sftp> ls
incoming
sftp> pwd
Remote working directory: /
sftp> cd /
sftp> ls
incoming
sftp> cd ..
sftp> ls
incoming
sftp> put exam.txt
Uploading exam.txt to /exam.txt
remote open("/exam.txt"): Permission denied
sftp> cd incoming
sftp> put exam.txt
Uploading exam.txt to /incoming/exam.txt
exam.txt                                                                                                                                                                                                 100%   70     0.1KB/s   00:00
sftp>
As you can see, user01 can’t get out of his home directory, and can’t write on his home directory since it belong to the root account. It can, however write on the “incoming” directory. As for user traffic01 and traffic02:
surfer@M5-F-x-II:~$ sftp traffic01@claw.cloudapp.net
traffic01@claw.cloudapp.net's password:
Connected to claw.cloudapp.net.
sftp> ls
user01  user02
sftp> cd user01
sftp> ls
incoming
sftp> cd incoming
sftp> ls
remote readdir("/user01/incoming"): Permission denied
sftp>
This is of course expected, since I did chmoded the directory only accessible by its’ owner. I do however, want to give write access to these folders to “traffic01”, which in turn, bring us to the second part of this post. Using ACL.
ACL provides the ability to modify the access mode beyond linux standard combination of owner, group, and other. On Ubuntu, you can get it by doing
surfer@claw:~$ sudo apt-get install acl
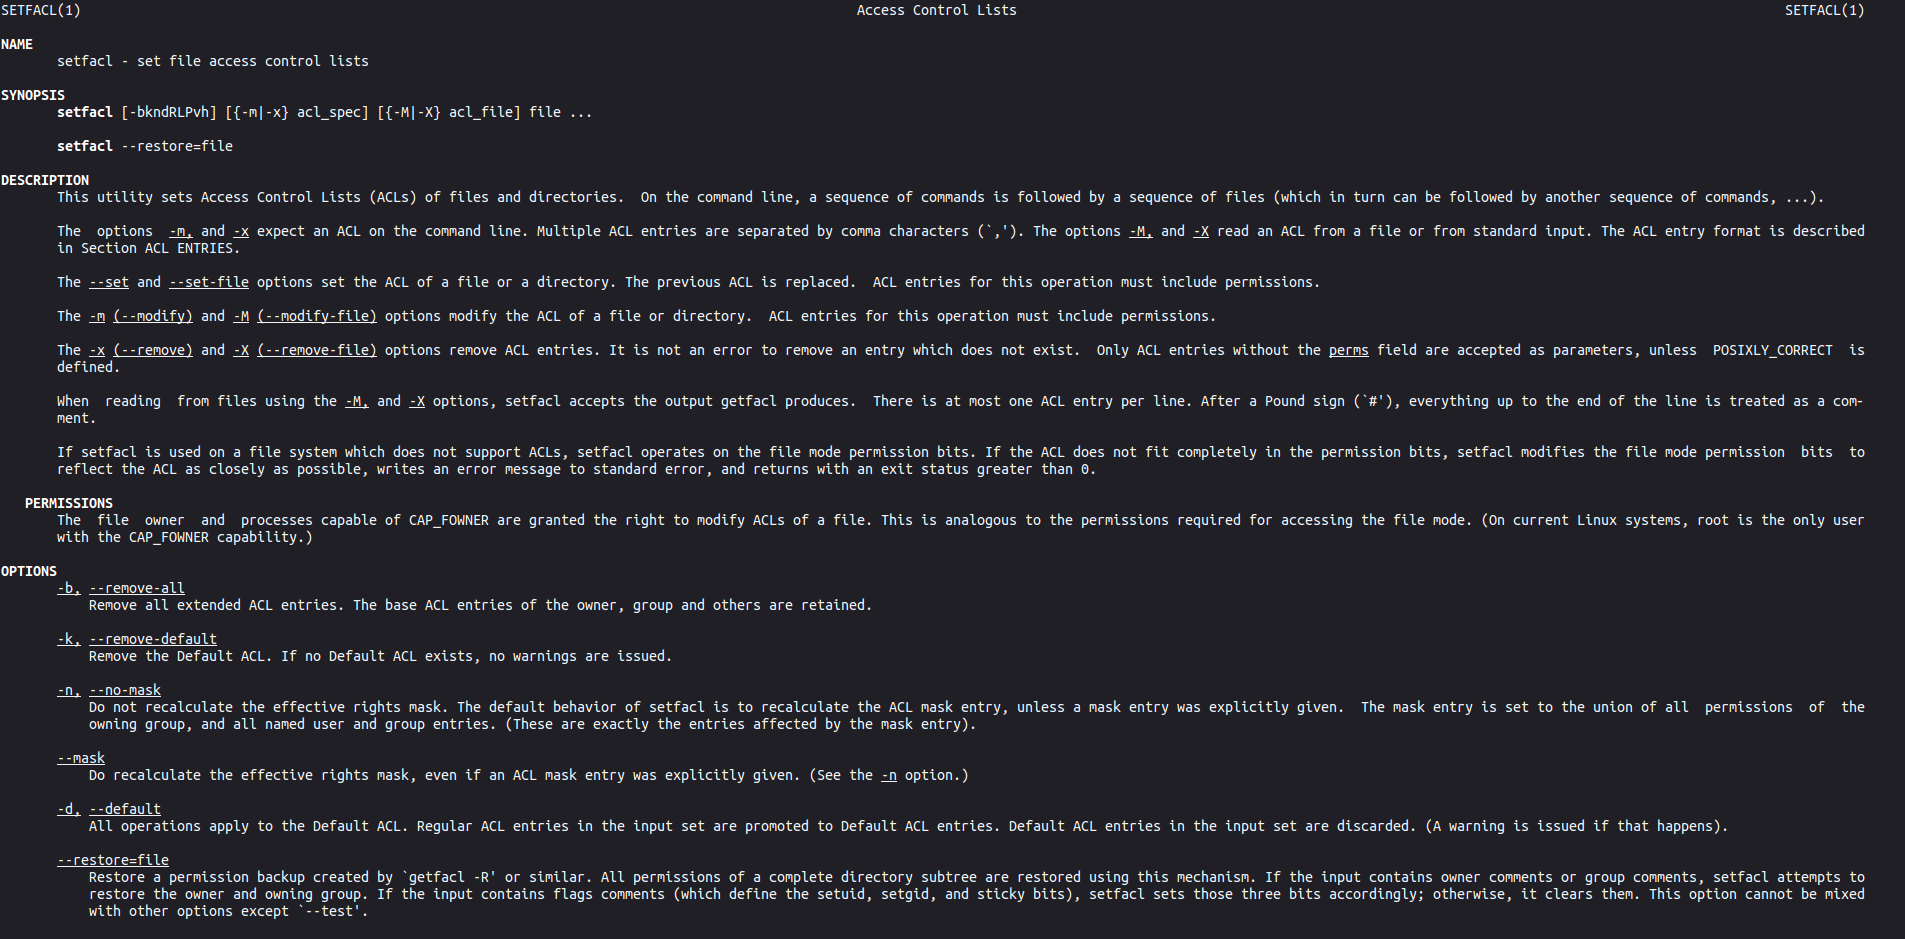
There are two important command that come with ACL. The first one is “setfacl”, used to set the access mode to files or folders. As an example, for the purpose of this tutorial, I will do
surfer@claw:~$ sudo setfacl -Rdm u:traffic01:r-x /files/surveyor/user01/incoming
This will give the user traffic01 read access to /files/surveyor/user01/incoming, on top of the chmod 700 established earlier. “R” is obviously for applying the change recursively to everything inside the folders, and “d” will set the access rule as default for everything else copied or created into that particular folder in the future, while “m” is for “modify, simply signifying that the action is modifying existing rules for that folder.
The second command is getfacl that you can use to retrieve active ACLs on a particular folder. For example:
surfer@claw:~/script$ sudo getfacl /files/surveyor/user01/incoming
getfacl: Removing leading '/' from absolute path names
# file: files/surveyor/user01/incoming
# owner: user01
# group: user01
user::rwx
group::---
mask::---
other::---
default:user::rwx
default:user:traffic01:r-x
default:group::---
default:mask::rwx
default:other::---
